Aug . 29, 2024 20:01 Back to list
installing wire mesh fence
Installing Wire Mesh Fence A Comprehensive Guide
Installing a wire mesh fence is an effective way to secure your property while maintaining visibility. Whether you’re looking to keep pets contained or create a boundary for livestock, a wire mesh fence is a practical and durable solution. Here’s a step-by-step guide to help you through the installation process.
Step 1 Planning and Preparation
Before starting your installation, it's essential to plan the layout of your fence. Begin by determining the area you want to enclose and measuring the perimeter. Mark the corners with stakes and run a string line between them to visualize the fence line. Consider local regulations and acquire any necessary permits. Check for underground utilities with a utility locator service to avoid damaging any lines during installation.
Step 2 Selecting the Right Materials
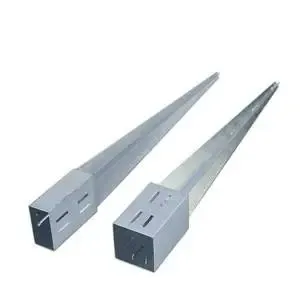
There are several types of wire mesh available, including welded wire, chain link, and field fencing. Choose a material that suits your needs, considering factors like durability, visibility, and the type of animals you may be containing. Additional materials you’ll need include posts (wooden or metal), concrete, fencing staples or ties, and tools such as a post hole digger, level, and wire cutters.
Step 3 Installing the Fence Posts
Begin by marking the location of your fence posts, typically spaced 8 to 10 feet apart. Use a post hole digger to create holes approximately two feet deep to ensure stability. Place a post in each hole and fill with concrete to secure it. Use a level to ensure each post is vertical, adjusting as necessary before the concrete sets. Allow the concrete to cure for at least 24 hours.
Step 4 Attaching the Wire Mesh
installing wire mesh fence
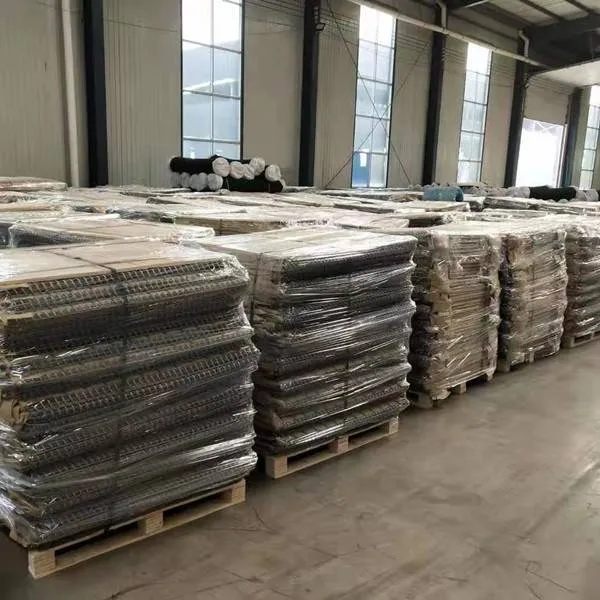
Once the posts are secure, it’s time to attach the wire mesh to the posts. Start at one end, unrolling the wire mesh along the fence line. Use fencing staples or ties to secure the mesh to the posts, making sure to pull the mesh taut to prevent sagging. If you’re using a heavier type of wire mesh, such as welded wire, you may need to attach it at additional points along the length of the wire to maintain its tension and integrity.
Step 5 Adding Gates
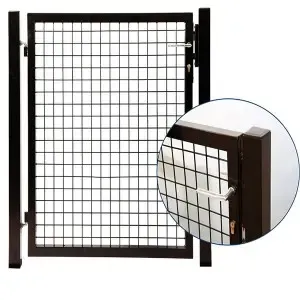
If you need access points, plan for gates in your fence design. You can purchase pre-made gates or construct your own using the same materials as your fence. Ensure the gate is securely attached to the posts with sturdy hinges and can swing freely without obstruction.
Step 6 Finishing Touches
Once all wire mesh is attached and gates are installed, check for any areas that may need reinforcement. Trim any excess wire and ensure that all fasteners are secure. For added protection against rust and weather, consider applying a protective coating to the wire mesh and posts. Additionally, a top rail may be added for added strength and to improve the fence’s appearance.
Step 7 Maintenance
Wire mesh fences require minimal maintenance but do benefit from regular inspections. Check for signs of wear and tear, rust, or damage after heavy storms. Keeping vegetation trimmed back from the fence line will prevent damage and help preserve its integrity.
By following these steps, you can successfully install a wire mesh fence that offers security and enhances your property. With the right preparation and materials, your fence will serve its purpose effectively for years to come.
-
Leading PVC Hexagonal Wire Mesh Supplier | Durable & Cost-Effective
NewsAug.31,2025
-
Durable Galvanized Welded Wire Mesh Rolls for Fencing & Cages
NewsAug.30,2025
-
Durable Hexagonal Gabion Box | Erosion & Retaining Solutions
NewsAug.29,2025
-
Durable PVC Coated Wire Mesh for Sale | Weather & Corrosion Resistant
NewsAug.28,2025
-
Build a Discreet Chicken Run with Sturdy Green Coated Chicken Wire
NewsAug.23,2025
-
A Guide to Selecting the Most Durable Field Gates for Your Property
NewsAug.23,2025
Products categories


