Oct . 19, 2024 21:51 Back to list
installing field fencing
Installing Field Fencing A Comprehensive Guide
Field fencing is an essential component for anyone looking to manage livestock, protect crops, or define property boundaries. It's not just about keeping animals in; it's also about keeping predators out. Whether you're a farmer managing a large plot of land or a homeowner wanting to establish a clear boundary around your property, installing field fencing can be a rewarding project. This article will provide a step-by-step guide on how to successfully install field fencing.
Step 1 Planning Your Fence
Before diving into the installation, it is crucial to plan your fencing project meticulously. Consider the type of fence that suits your needs, such as woven wire, barbed wire, or electric fencing. Each type has its purpose; for instance, woven wire is excellent for containing livestock, while electric fencing is effective for keeping animals away from certain areas.
You should also determine the dimensions of your fence. Measure the length of the perimeter you wish to enclose or protect. Create a detailed diagram that includes the location of any gates, corners, and any elevation changes in the terrain. This blueprint will guide you as you proceed with the installation.
Step 2 Gather Your Materials
Once your plan is in place, gather all necessary materials. Here’s a list of items you'll need
- Fencing material (wire rolls, wood panels, etc.) - Fence posts (wood, metal, or PVC) - Concrete (for securing the posts) - Nails or staples (for attaching fencing material) - A post driver or a digging tool (for setting the posts) - A level (to ensure posts are straight) - Wire cutters and pliers - Gloves for hand protection
It’s advisable to purchase slightly more material than measured to account for errors or adjustments.
Step 3 Marking the Layout
Using stakes and string, mark the outline of your fence based on your diagram. This visual representation will help you maintain the desired alignment throughout the installation. Pay special attention to corners and gates; ensuring these are correctly placed will save you time and hassle during installation.
Step 4 Setting the Posts
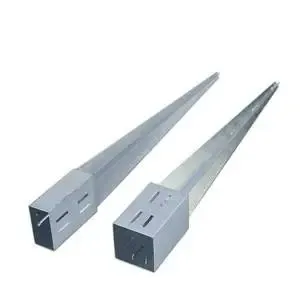
The next step is to install the fence posts, which are critical for a sturdy fence. Start by digging holes for the posts, generally 2-3 feet deep, depending on your local weather conditions and soil type. For every 8-12 feet of fencing, you’ll need a post. Corner posts will require additional strength, so filling the holes with concrete is advisable.
installing field fencing
Once the posts are in place, use a level to ensure they are straight before the concrete sets. Allow the concrete to cure as per the manufacturer’s instructions. This may take a day or two.
Step 5 Attaching the Fencing Material
With the posts secure, it’s time to attach the fencing material. Start at one end of the fence line and unroll your fencing material along the posts. If you’re using woven wire, make sure it is taut, as loose fencing may sag and fail to contain livestock.
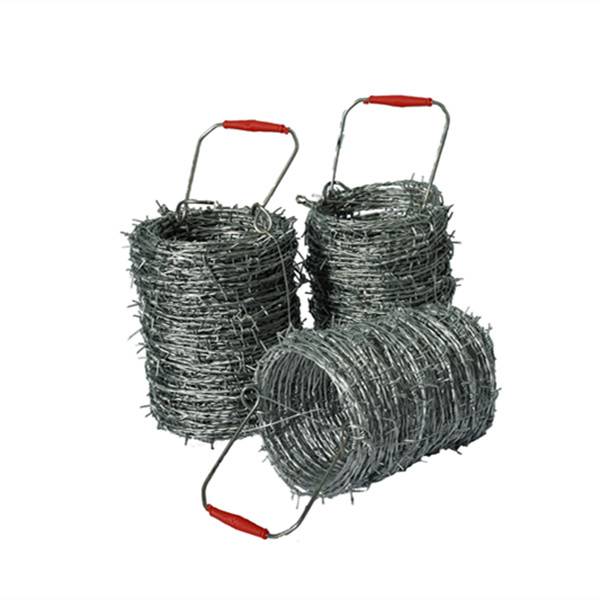
Using staples or nails, attach the fencing material to each post. When using barbed wire, work carefully to avoid injury, and ensure the wire is evenly spaced if you're using multiple strands.
Step 6 Installing Gates
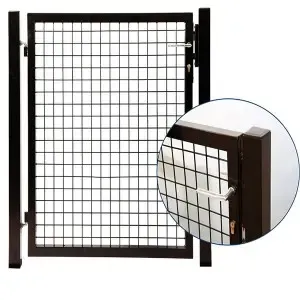
Gates are essential for access points in your fence. Ensure they are strategically placed for ease of use. Install gate posts that are sturdy enough to withstand daily use. Depending on the type of gate (single or double), follow the manufacturer’s instructions for proper installation.
Step 7 Final Inspection
After the entire fence is installed, take time for a thorough inspection. Look for any loose sections and tighten them, check that the gates open and close smoothly, and ensure there are no gaps that animals could squeeze through.
Step 8 Maintenance
Regular maintenance is key to a long-lasting fence. Check the integrity of the fencing material, look for signs of wear or damage, and tighten any loose sections as needed.
Conclusion
Installing field fencing is a manageable DIY project that can enhance the functionality and safety of your property. By carefully planning, gathering materials, and following each step, you can create a durable and effective fence suited to your needs. Whether for livestock containment, protection of crops, or delineating property boundaries, the right fencing can be both practical and aesthetically pleasing. Happy fencing!
-
Why a Chain Link Fence is the Right Choice
NewsJul.09,2025
-
Upgrade Your Fencing with High-Quality Coated Chicken Wire
NewsJul.09,2025
-
The Power of Fence Post Spikes
NewsJul.09,2025
-
The Best Pet Enclosures for Every Need
NewsJul.09,2025
-
Secure Your Property with Premium Barbed Wire Solutions
NewsJul.09,2025
-
Enhance Your Construction Projects with Quality Gabion Boxes
NewsJul.09,2025
Products categories


