Nov . 14, 2024 11:29 Back to list
installing field fence with t posts
Installing Field Fence with T-Posts
Installing a field fence using T-posts is a practical and effective way to enclose pastures, gardens, or livestock areas. This method is not only economical but also relatively straightforward, making it a popular choice among property owners. Below, we’ll walk you through the steps necessary to properly install a field fence with T-posts.
Materials Needed
Before beginning your project, gather the necessary materials
1. T-Posts These metal posts are durable and provide excellent support for the fence. 2. Fencing Material This could be barbed wire, woven wire, or any type of field fencing that suits your needs. 3. Post Driver This tool is essential for driving T-posts into the ground effectively. 4. Wire Cutters Useful for cutting the fencing material to size and trimming wire. 5. Fencing Staples or Clips To secure the fencing to the T-posts. 6. Gloves Protect your hands while handling wire and posts. 7. Measuring Tape For accurate measurement of spacing and height.
Preparing the Site
Start by selecting the area where you want to install the fence. Clear any debris, rocks, or vegetation that may interfere with the installation process. It’s important to ensure the ground is relatively level, although minor undulations can be managed as you set the posts.
Measuring and Marking
Use the measuring tape to determine the length of the fence line. Mark the positions for your T-posts at intervals typically ranging from 8 to 12 feet apart, depending on the type of fencing you are using and the stability required. It’s important to keep the fence line as straight as possible for both aesthetics and functionality.
installing field fence with t posts
Installing T-Posts
Once you have your measurements, start installing the T-posts. Using the post driver, drive each T-post into the ground at the marked intervals. Ensure that the posts are driven deep enough (at least 2 feet) to provide stability, especially if you live in an area with high winds or loose soil. The top of the T-post should be above the intended height of the fence to allow for adequate fencing material attachment.
Attaching the Fencing Material
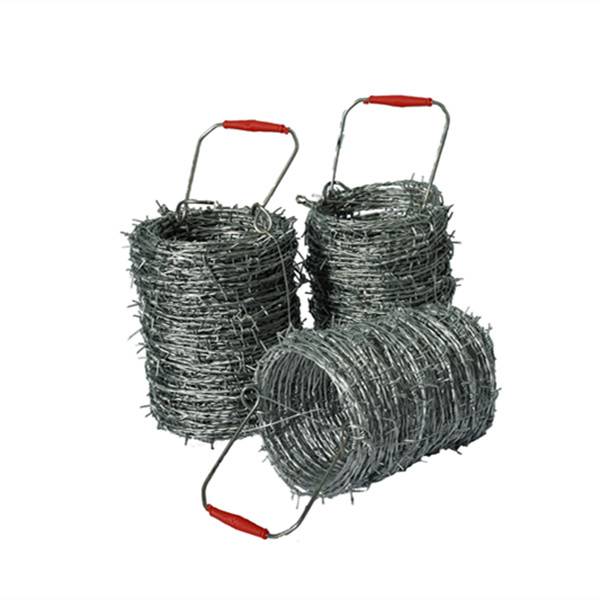
With the T-posts installed, it’s time to attach your fencing material. Start at one end of the fence line and unroll the fencing along the posts. Make sure it is taut but not overly stretched, as this can cause damage. Use fencing staples or clips to secure the material to each T-post. If you’re using barbed wire, ensure it is properly tensioned but not so tight that it could snap.
Final Adjustments
Once the fencing is secured to all of the T-posts, walk the length of the fence to check for any areas that may need adjustment. Ensure that the fencing is straight and that there are no gaps where animals could escape or enter. If necessary, add additional T-posts in weak or sagging areas for extra support.
Maintenance
After the installation, regular maintenance is key to keeping your field fence in good condition. Check for loose fencing, rust on T-posts, or any signs of wear at least once a year. Re-tightening and repairing the fence as needed will prolong its lifespan and ensure it continues to serve its purpose effectively.
In conclusion, installing a field fence with T-posts is a manageable DIY project that provides invaluable protection for your land and livestock. With the right materials and careful planning, you can create a secure and long-lasting fence that meets your needs.
-
Why a Chain Link Fence is the Right Choice
NewsJul.09,2025
-
Upgrade Your Fencing with High-Quality Coated Chicken Wire
NewsJul.09,2025
-
The Power of Fence Post Spikes
NewsJul.09,2025
-
The Best Pet Enclosures for Every Need
NewsJul.09,2025
-
Secure Your Property with Premium Barbed Wire Solutions
NewsJul.09,2025
-
Enhance Your Construction Projects with Quality Gabion Boxes
NewsJul.09,2025
Products categories


