Dec . 26, 2024 02:36 Back to list
Guide to Installing Field Fencing for Effective Property Management and Livestock Control
How to Install Field Fence A Step-by-Step Guide
Installing a field fence can enhance the aesthetic appeal of your property while providing essential boundaries for livestock or protecting your garden from wildlife. Whether you're an experienced DIY enthusiast or a beginner, this guide will assist you through the process of installing a field fence effectively.
Step 1 Planning Your Fence Layout
Before you start digging holes, it's crucial to develop a clear plan for your fence. Determine the area that you want to enclose, marking the corners and ends of the fence line. Use stakes and string to outline the perimeter, ensuring that your layout follows the natural contours of the land. Consider factors such as gates, water sources for animals, and ease of access to different areas of your property.
Step 2 Choosing the Right Materials
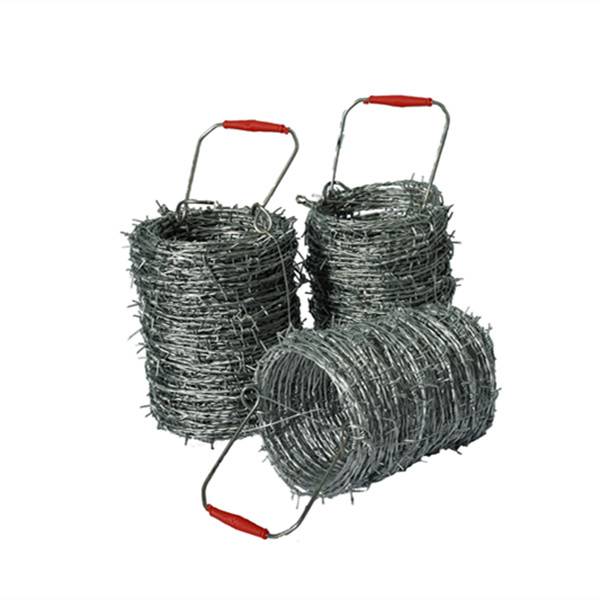
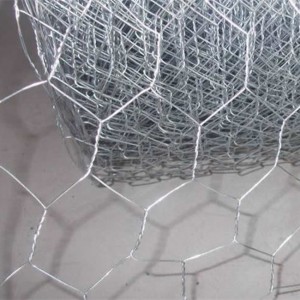
Selecting the right materials is essential for the durability and effectiveness of your fence. Field fences typically come in various heights, wire gauges, and styles, including barbed wire and non-barbed options. Consider the type of livestock or wildlife you’re trying to manage when making your choice. Refer to local regulations regarding fencing materials, as some areas may have restrictions.
Step 3 Gathering Tools
Before you begin, gather the necessary tools to make the installation process smoother. You will need
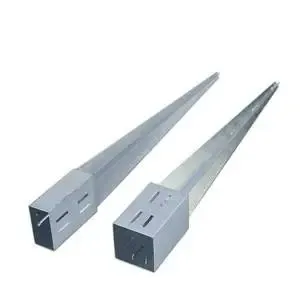
- Fence posts (wooden or metal) - Field fencing rolls - Fencing staples or ties - A post driver or auger - A wire cutter - A level - A measuring tape - A hammer - A tensioning tool (if required)
Having these tools on hand will streamline your project, making it more efficient and enjoyable
.how to install field fence
Step 4 Installing Fence Posts
Start by placing the fence posts. Typically, posts should be spaced 8 to 12 feet apart, depending on the type of fence and terrain. Using your measuring tape, ensure that the distance between each post is consistent. Use a post hole digger or auger to create holes approximately 2 to 3 feet deep. Place the posts in the holes, ensuring they are level before filling them with concrete or packing dirt for stability.
Step 5 Attaching the Wire
Once your posts are securely in place, it’s time to attach the fencing material. Begin at one end of your fenced area, unrolling the field fencing along the line of the posts. Ensure that the fencing is taut and level as you work. Use fencing staples to fasten the wire to each fence post, ensuring it is evenly distributed. If you are using barbed wire, take extra caution and wear protective gloves while handling it.
Step 6 Tensioning the Fence
To maintain the integrity of the fence, it's essential to tension it properly. Using a tensioning tool, stretch the wire evenly from one post to the next before securing it in place with additional staples or ties. This step is crucial to prevent sagging and ensure that the fence remains effective against intruders.
Step 7 Final Touches
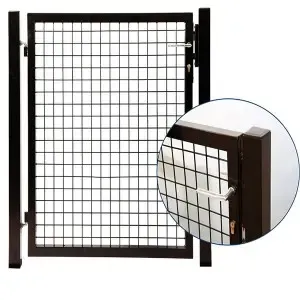
After the fencing is installed, double-check the entire perimeter for any weak spots or areas that may need reinforcement. If you have gates, install them according to the manufacturer’s instructions, ensuring they swing freely and securely close. Clear any debris from the area to maintain a neat appearance and reduce the risk of accidents.
Conclusion
Installing a field fence is a manageable project that can significantly benefit your property. By following these steps and taking the necessary precautions, you can create a functional and attractive boundary that serves your needs for years to come. Happy fencing!
-
Why a Chain Link Fence is the Right Choice
NewsJul.09,2025
-
Upgrade Your Fencing with High-Quality Coated Chicken Wire
NewsJul.09,2025
-
The Power of Fence Post Spikes
NewsJul.09,2025
-
The Best Pet Enclosures for Every Need
NewsJul.09,2025
-
Secure Your Property with Premium Barbed Wire Solutions
NewsJul.09,2025
-
Enhance Your Construction Projects with Quality Gabion Boxes
NewsJul.09,2025
Products categories


